Delivery Vehicle Training - One day PRACTICAL TRAINING
FACILITATOR’S GUIDE
Training Objectives
resources required
Learner will have a clear understanding:
1. Cones
- of what's required of them when operating the delivery vehicle
2. Predetermined site that can be closed off from other foot or vehicle
- the correct PPE gear to wear when operating a delivery vehicle
traffic ( marked out circuit to be 40m long and 15m wide. This is so a
- S&W & regulatory expectations & requirements
speed of approximately 25-30 km an hour can be achieved )
- the mechanics of the delivery vehicle ( controls, braking system, etc. )
3. Predetermined route for road ride and footpath activities
Learner will have the confidence: - ride the delivery vehicle on the road & deliver mail in a safe manner
- conduct daily checks and know what to do if there's a breakdown
- identify hazards on their rounds
- to store delivery vehicle and charge it at end of shift
1

Delivery Vehicle Training - One day PRACTICAL TRAINING
FACILITATOR’S GUIDE
CAR PARK EXERCISES (2.5 - 3hours)
Theme
Notes on demonstration
Resources/course set up
Introduction to the Delivery Vehicle
Trainer to demonstrate how to:
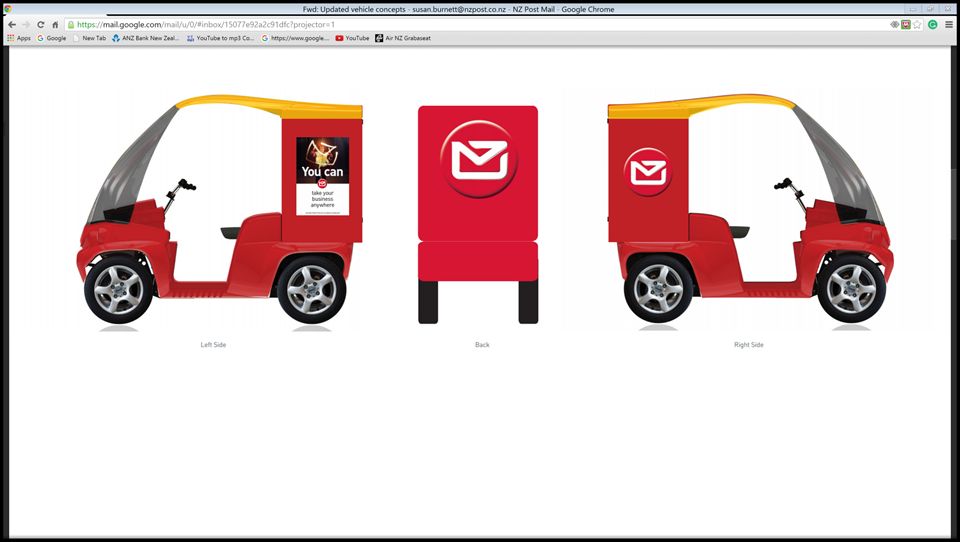
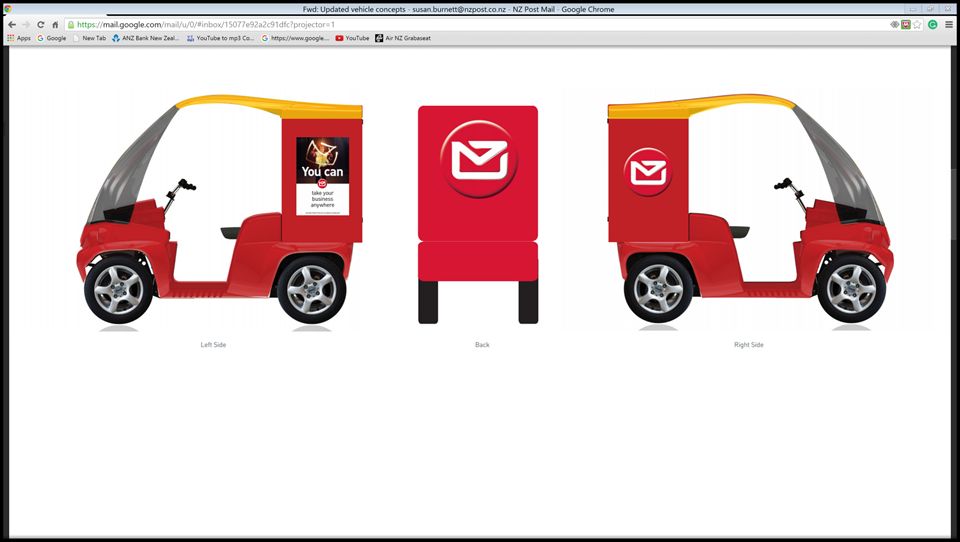
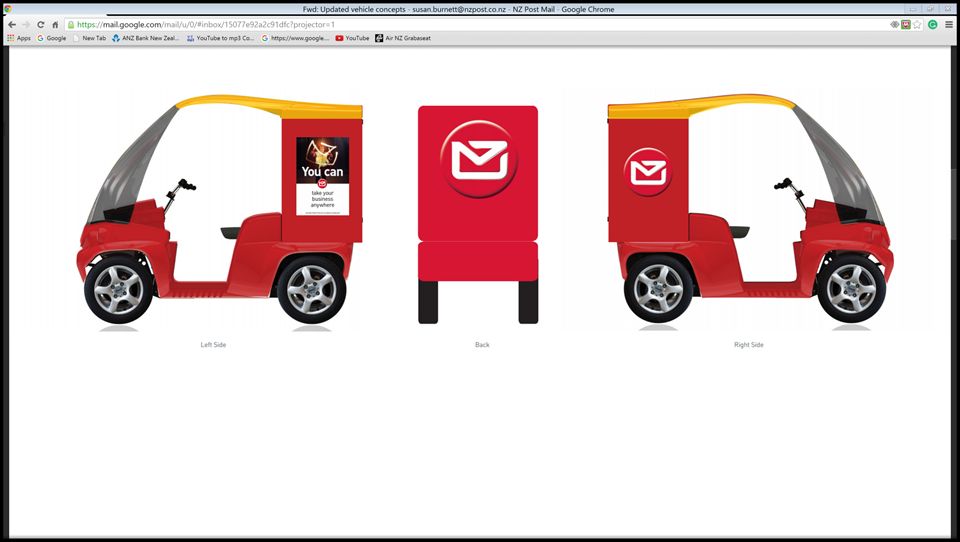
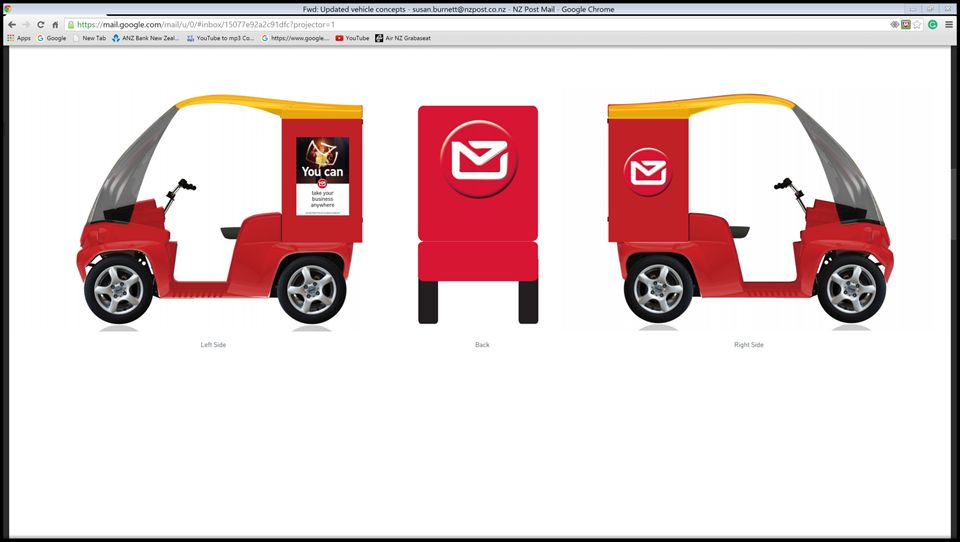
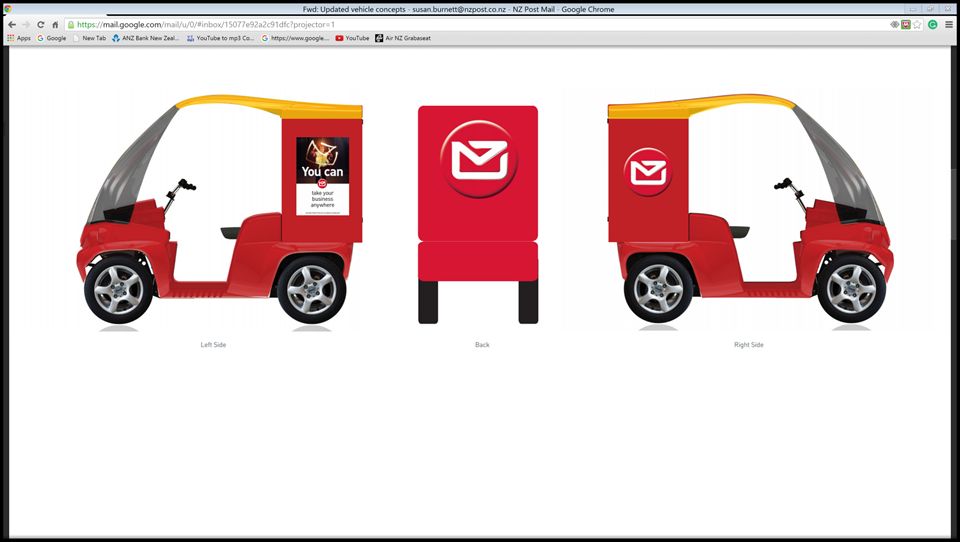
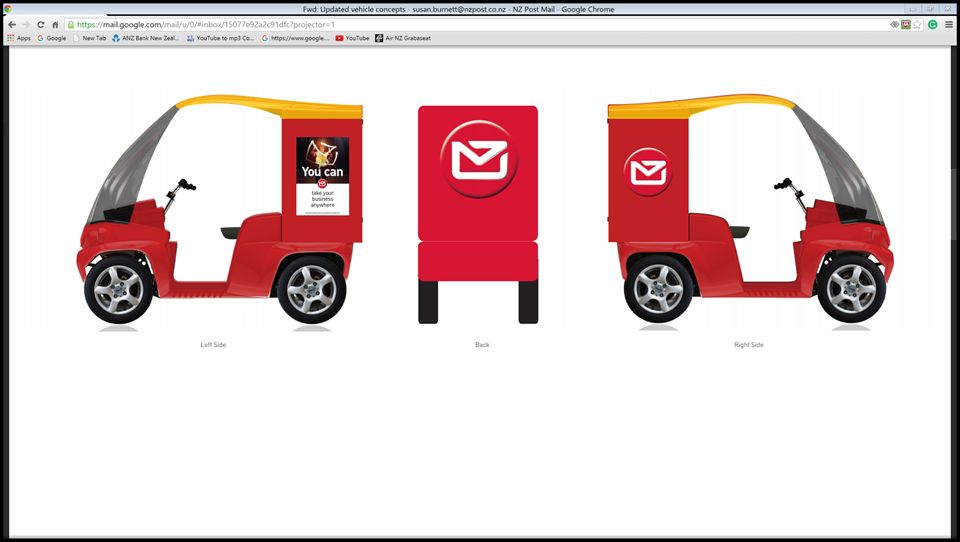
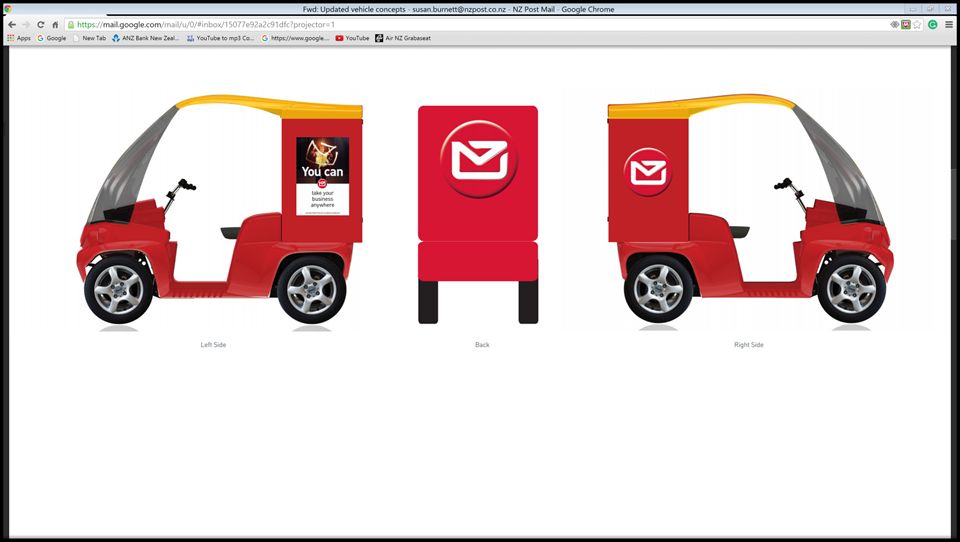
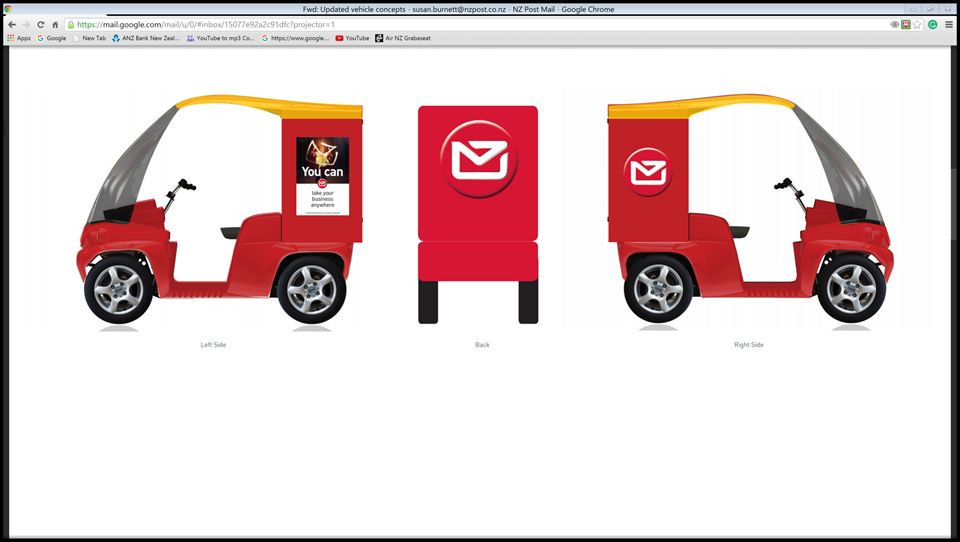
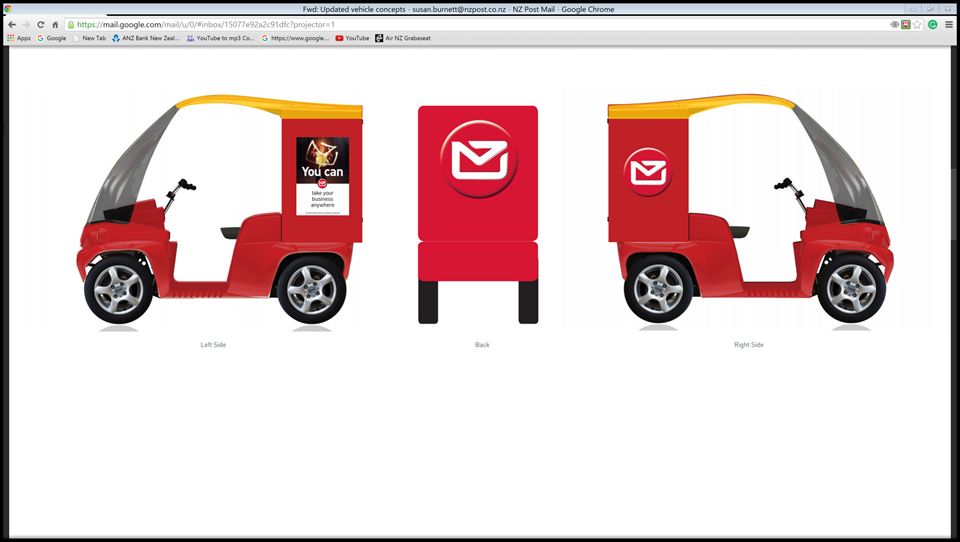
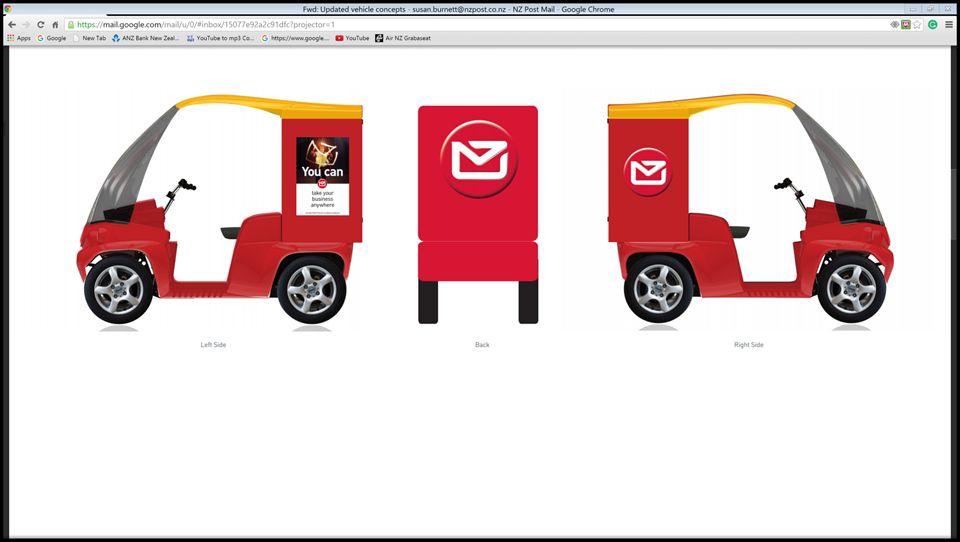
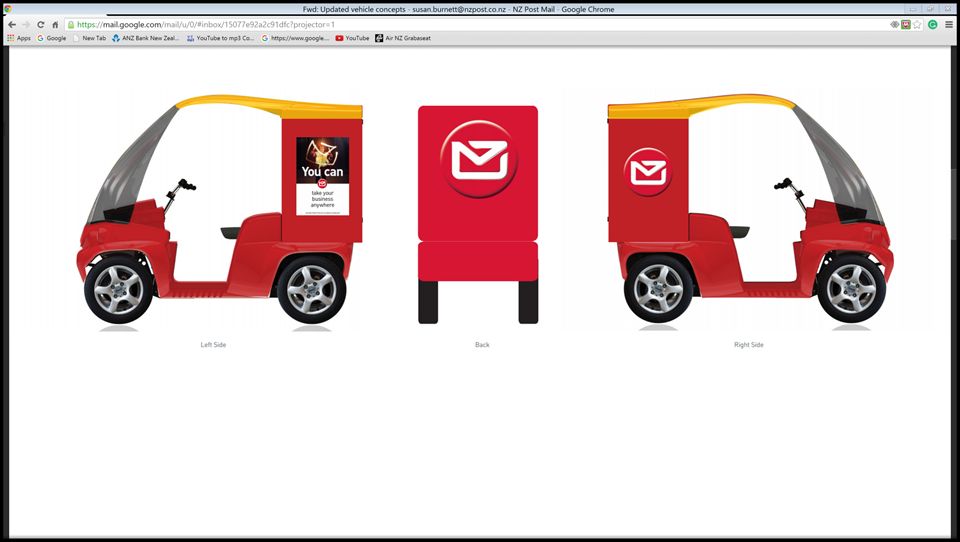
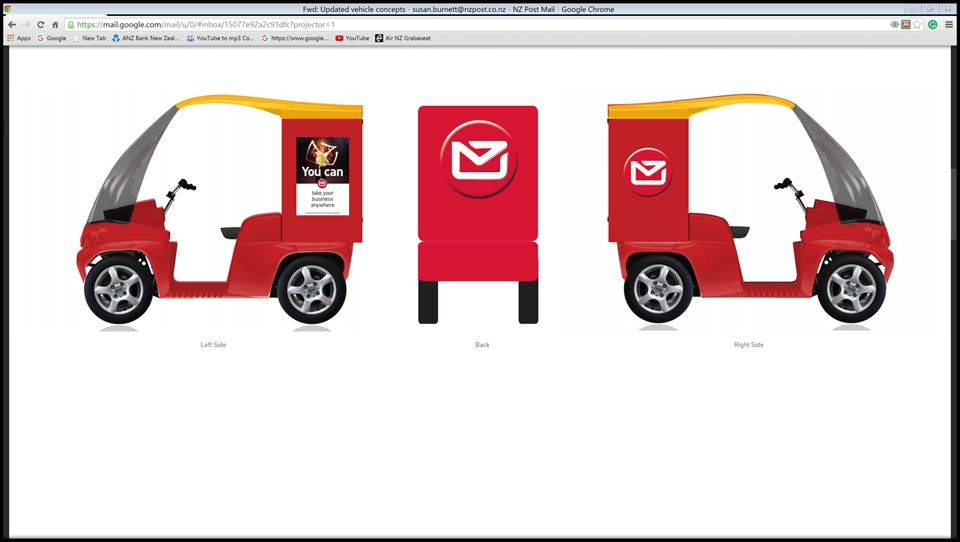
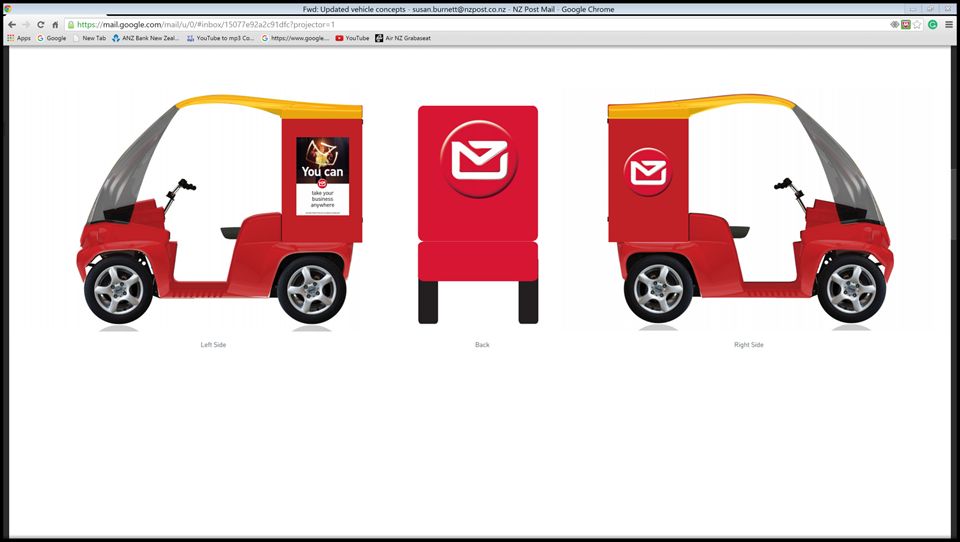
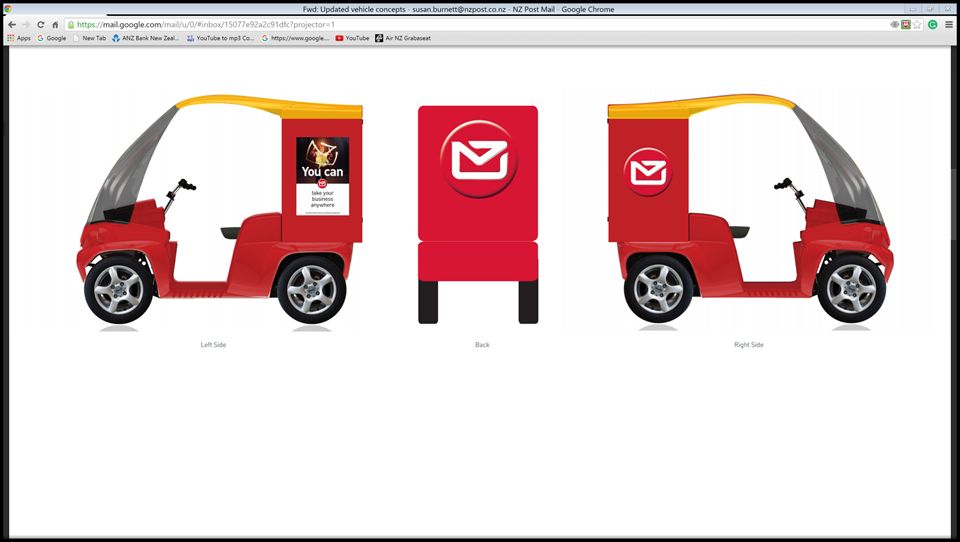
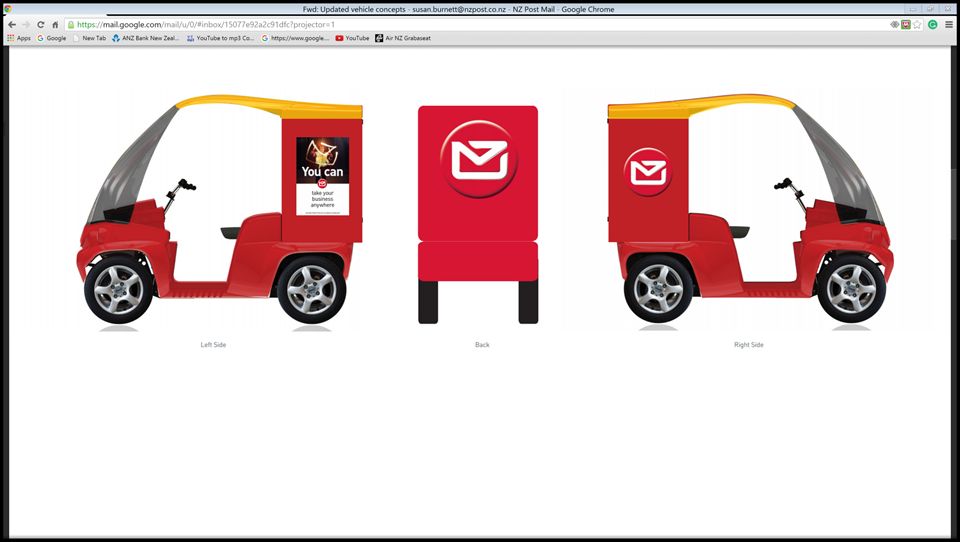
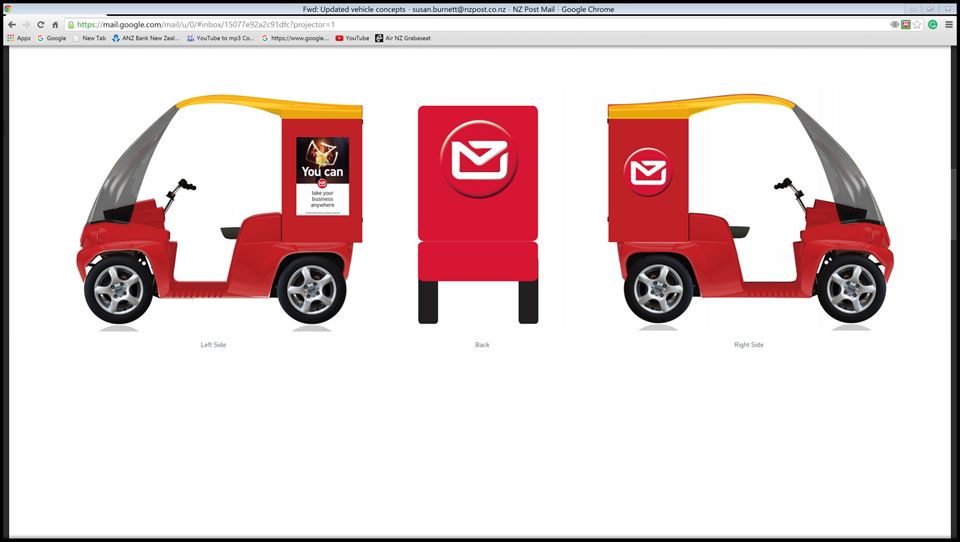
Delivery vehicle - Paxster
NOTE: Trainer must sight trainees licence and fill
●
sit in vehicle ( vehicle turned off )
out appropriate form before training commences.
“
keep core nice & strong and arms slightly bent when holding onto
This form is signed by the trainee and the trainer
handlebars/controls”
will verify by signing.
●
adjust the seat
●
use the controls
Trainees must be wearing correct PPE gear
throttle, lights, charge level, front brake, rear brake, thumb brake,
hand brake, reverse switch,horn, window wipers, power mode, Eco mode,
Trainees to perform vehicle check before starting
winter mode,indicators, hazard lights and camera.
with trainer observing
●
check charger power cable & mains power socket
●
turn on the delivery vehicle using the key
●
check tyres (tread, condition & pressure)
●
check and adjust mirrors
●
check front suspension and steering
●
check condition (appearance & damage)
●
check WOF, Registration, servicing and compliance(NZTA, Council)
Resources
documentation
1.
Postie Mode Training Registration form
2.
Competency Assessment form
Trainee now has a go at demonstrating all of the above which includes the
3.
Paxster Daily/Weekly check form
Paxster Vehicle Check (form used). Trainer to ask a number of questions
4.
Training Evaluation form
during the training to check for understanding
Predetermined road ride
Q: why do we do a vehicle check
● Low traffic area
A: to check that the vehicle is safe, reliable and legal before taking it out to
●
deliver mail
High traffic area
Q: how often do we check the Paxster
● Traffic lights
A: every day before going out on delivery
● Left & right and through roundabouts
Q: what is the correct tyre pressure for the Paxster & why is it important
● Left & right at uncontrolled
A: 30 psi. Correct pressure will make vehicle stable, less taxing on battery and
intersections
reduce risk of blow out
● Undulating terrain
Q: what must you have with you at all times when riding the Paxster
● Hills ( area to perform hill start )
A: Your Licence
2
Delivery Vehicle Training - One day PRACTICAL TRAINING
FACILITATOR’S GUIDE
Q: What paperwork needs to remain with the vehicle and is it specific to each
vehicle.
A: NZTA & Council compliance documents. Yes the NZTA compliance form has
a serial number which is highlighted on the document
Q: Name 4 items of PPE
A: Helmet, fingerless gloves, uniform, sunglasses, postie shoes,postie inclosed
sandals, postie shirt, polar fleece jacket, Rain Jacket, postie shorts or track
pants.
Q: What is the weight limit on the Paxster
A: 45 kg front cargo hold
155 kg rear cargo hold
200 kg total excluding operator
Q: When performing a tight turn from a stationary position what is best
practise
A: Lightly apply throttle prior to steering
Q:When leaving the vehicle what do you need to do
A: Make sure handbrake is on (or thumb break ) and if leaving vehicle
unattended turn vehicle off and take keys with you. The back cabinet also
should be locked and front security shield (zipped and locked) should be
secure.
Q: what mode should you be driving the paxster in / Why
A: Echo mode - most efficient mode for driving in ( 27% resistance for engine
regeneration ). High mode - only used on steep driveways etc. when needed
( 50 % resistance for engine regeneration - uses more power ) Winter mode -
should not be used (18% resistance for engine regeneration )
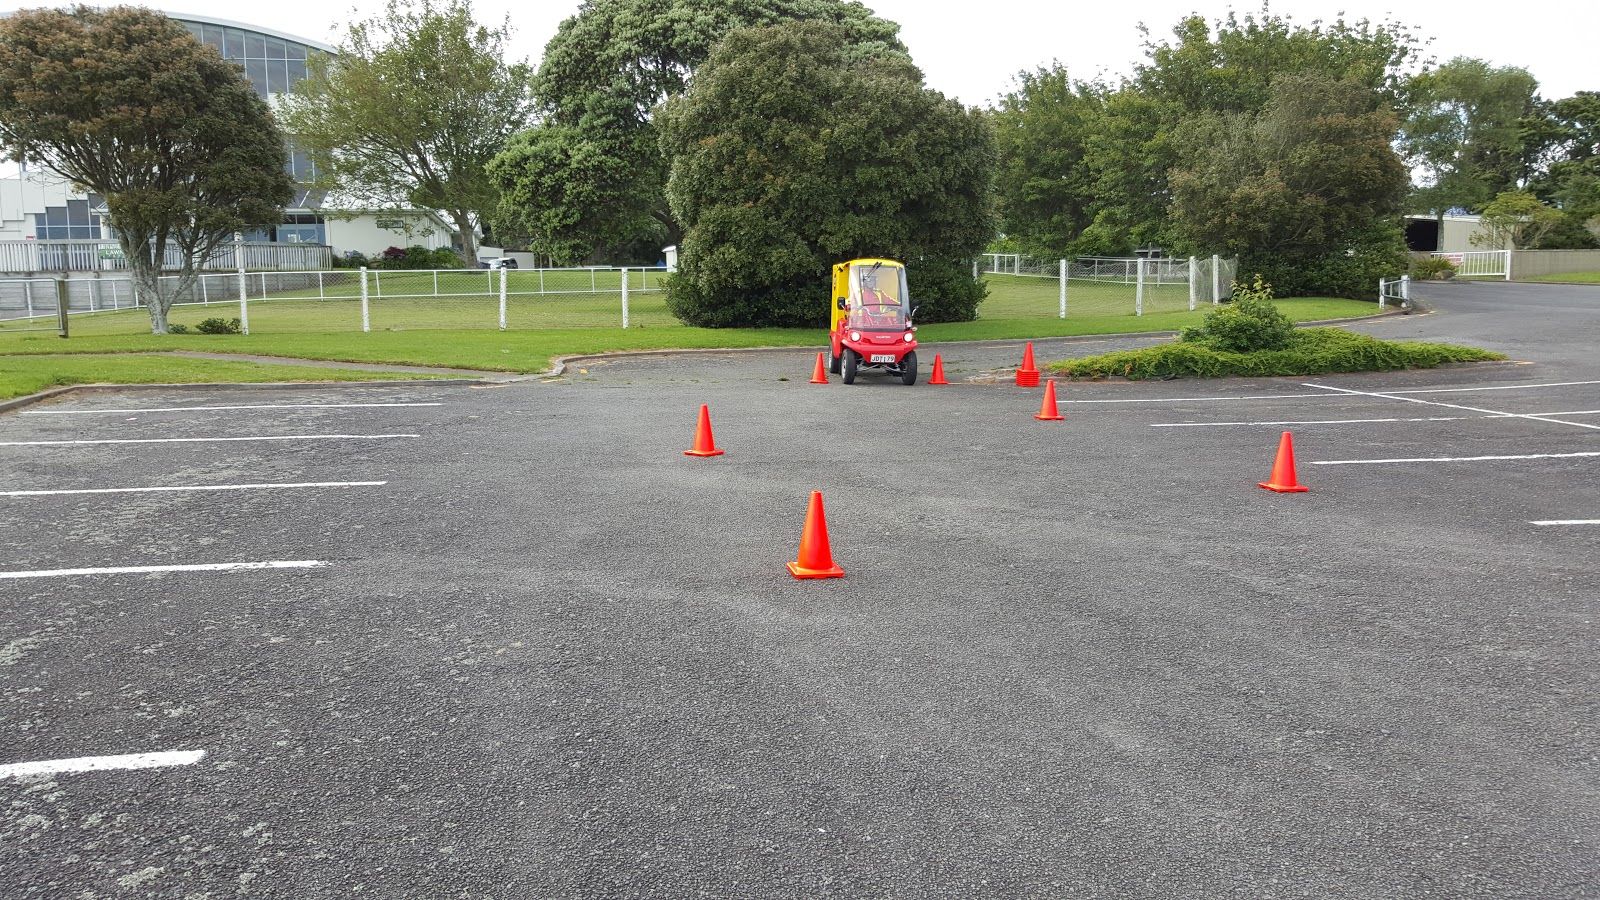
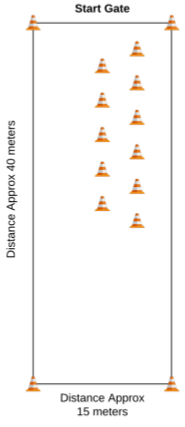
Course layout and rules
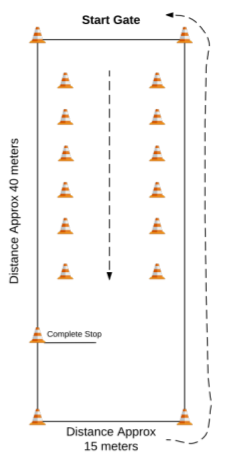
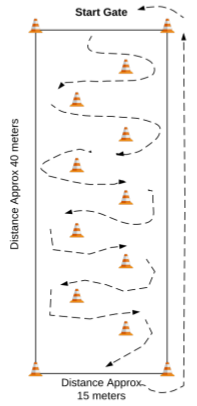
Explain the layout of the course and how the ‘start gate’ works during the
2 cones mark the start gate, from there there is 5 - 6
Layout will depend on the space available. Ideally
carpark exercises: Trainees to always stop at the start gate until told to
cone’s in two lines approx ( lines are offset ) 5
an area of 40 metres by 15 metres.
proceed around the circuit ( use this time to give feedback if needed )
paces apart ( length and width )
Explain the different hand signals that will be used during the exercises
This includes: Start
Stop
Head up
Looking where you want to go
Relax shoulders and arms
3
Delivery Vehicle Training - One day PRACTICAL TRAINING
FACILITATOR’S GUIDE
The trainer will inform trainee that they will be skills will assessed
progressively throughout their practical training and evaluated. This will be an
open discussion individually between the trainer and the trainee between
each transition stage. I.e. between car park session and first section of road
ride, first section and second of road ride, second section and third section of
road ride.
The trainer will explain and demonstrate before trainee completes
●
Mirror and head checks
before moving off from stationary position -
mirrors then head check
●
use of regenerative braking ( throttle)
●
driving at various speeds
●
turning manoeuvers
●
engaging handbrake
●
emergency braking
●
reversing
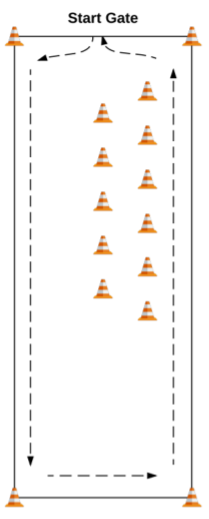
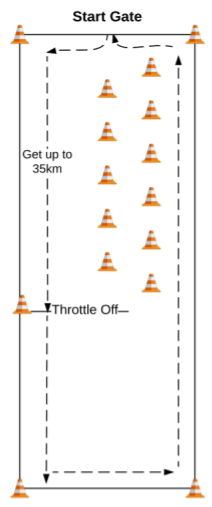
Throttle Control Exercise
The following simple and slow exercises are for the Trainees to feel the
Cones ( or half tennis balls ) to mark course
throttle controls of the delivery vehicle and how it moves
Driving Mode at 5 kilometers
Trainer to demonstrate from the ‘start gate’
Before starting the delivery mode
1 check mirrors
2 head check
3 relax shoulders
4 head up looking where you’re going
5 12 second scan
4

Delivery Vehicle Training - One day PRACTICAL TRAINING
FACILITATOR’S GUIDE
Trainee to complete activity. They will proceed ensuring throttle is controlled
and speed is at 5 km's around the marked course for the first circuit with the
trainer walking along beside trainee providing direction and support.
“Before reaching the corner, throttle off slightly to a safe speed around the
corner, then throttle back on when out of the corner
Once the Trainee is competent they will repeat this exercise 2-3 times
Driving Mode at 10 kilometers
Trainee to demonstrate the same process as above
Then slowing down to a safe speed when approaching a judder bar or turning
a corner on the marked course
Trainees to repeat this exercise 2-3 times
Driving Mode at 15 kilometers
Trainee to demonstrate the same process as above
Then slowing down to a safe speed when approaching a judder bar or turning
a corner on the marked course
Trainees to repeat this exercise 2-3 times
Driving Paxster at 20 - 30 kilometers
Trainee to demonstrate the same process as above with increasing speed up
to 30 km's (depending on the length of the training area).
Trainee to repeat this 3-4 times till they have gained confidence to move on to
next exercise
●
Check mirror - head check before moving off from start gate
●
relax shoulders
●
head up
●
throttle control
●
12 second scans
5
Delivery Vehicle Training - One day PRACTICAL TRAINING
FACILITATOR’S GUIDE
Regenerative Braking
Trainer to demonstrate
Mark the throttle off point with a cone ( make sure
●
vehicle at ‘start gate’
there is space for run off )
●
mirror - head check before moving off
●
speeding up the marked course
●
throttle off
●
keep vehicle straight - do not via off
●
come to a complete stop ( using back brake lever to hold Paxster in
position )
●
mirror - head check before moving off
Trainees to walk down to throttle off zone and estimate where vehicle will
come to a complete stop. This will help them understand the slowing distance
of the regenerative braking.
Trainee
Trainee to complete exercise and repeat this exercise 2-3 times ,
Q: Why do we use regenerative braking
A: Regenerative braking restores charge to the battery when the throttle is
released
NOTE: this is not available in WINTER MODE ( new Paxsters going into the
branches will have low regenerative braking in winter mode )
Q:explain the different modes - High - Echo - Winter
A: High - low torque used to get moving on steep driveway
Echo - used during normal driving conditions , max speed 45km
Winter -Low regenerative braking
6

Delivery Vehicle Training - One day PRACTICAL TRAINING
FACILITATOR’S GUIDE
Quick braking exercise
Trainer to demonstrate to Trainees (in stationary position)
Mark the stop point with a cone
Emergency braking exercise
●
Throttle hand position (neutral position)
●
bracing position
●
throttle off
●
set up
●
squeeze both front and back brakes together until Paxster has come
to a complete stop
●
Explain skidding and how to correct by brake release and reapply
●
mirror - head check before moving off
Trainer now demonstrates using the marked course
●
vehicle at ‘start gate’
●
speeding up the marked course
●
throttle off
●
set up
●
squeeze both front and back brake’s together until Paxster has come
to a complete stop
●
mirror - head check before moving off
Trainees to walk down to brake zone and estimate where vehicle will come to
a complete stop. This will help them understand the slowing distance of full
braking. use a cone to mark where trainee is to stop
Trainee to complete activity and to repeat this exercise until they are
competent at stopping Paxster safely.
●
12 second scan
●
throttle off
●
set up and squeeze
●
keep vehicle straight
●
vehicle should be at a complete stop
●
mirror - head check before moving off
7
Delivery Vehicle Training - One day PRACTICAL TRAINING
FACILITATOR’S GUIDE
Reversing in straight line Exercise
Trainer to demonstrate
●
where the reverse button is on the control
●
turn head and look back when reversing
●
using mirrors as another option to help reverse
however you won’t be able see the gutter on the ground using
mirrors
●
reversing slowly keeping vehicle straight
Q: Before reversing when out on delivery what do we need to make sure off
A: that there is no one or object behind the vehicle - this might mean that
the operator has to get off the Paxster and check rear of the vehicle
Trainee to repeat this exercise 1 - 2 times for Paxster
8
Delivery Vehicle Training - One day PRACTICAL TRAINING
FACILITATOR’S GUIDE
Slalom Exercise
Trainer to demonstrate
●
going round course weaving and turning round the markers (cones or
tennis balls)
●
taking correct line to be clear of markers
●
looking where you want to go (head movement )
●
constant slow speed around the cones without having to use the
brakes
Trainee to complete exercise and repeat 3-4 times. On the return to the start
gate get trainees to practice stopping (stop sign/give way scenario).
Reverse Slalom
Trainer to demonstrate
●
reversing round course weaving & turning round the markers (cones
or tennis balls) with trainer
●
where the reverse button is on the control
●
turn head and look back when reversing
●
using mirrors as another option to help reverse
however you won’t be able see the gutter on the ground using
mirrors
Trainer demonstrates using full course
Trainee to complete exercise and repeat this 2-3 times
NOTE: Make judgement call on how long trainee spends on this exercise
9
Delivery Vehicle Training - One day PRACTICAL TRAINING
FACILITATOR’S GUIDE
Off-set Slalom exercise
Trainer to demonstrate
●
going round course weaving and turning round the markers (cones or
tennis balls)
●
looking where you want to go (head movement )
●
constant slow speed around the cones without having to use the
brakes
NOTE: Make judgement call on how long trainee spends on this exercise
Offset reverse Slalom exercise
Trainer to demonstrate
●
reversing round course weaving & turning round the tight and
narrow marked course ( explain the importance of setting the wheels
in motion before you start maneuvering the vehicle, this greatly
reduces the power that is required for steering )
●
looking where you want to go (head movement )
●
constant slow speed around the cones without having to use the
brakes
On the return to the start gate get trainees to practice stopping (stop
sign/give way scenario).
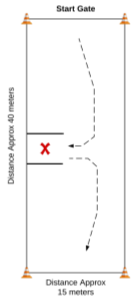
Use cones to make a
More Reversing
Trainer to demonstrate:
parking area so
●
Angle reversing into a single car park or narrow marked area
trainee can reverse
●
looking where you want to go (head movement )
into. If there is room
●
constant slow speed around the cones without having to use the
set up two stations for
brakes
reverse into park.
●
using mirrors as another option to help reverse
●
check distance of space behind vehicle for any possible obstructions
(put brake on and exit vehicle and look behind)
●
drive out of space and check exit point (low)
Trainee to complete and repeat this exercise 2 - 3 times. On the return to the
start gate get trainees to practice stopping (stop sign/give way scenario).
10
Delivery Vehicle Training - One day PRACTICAL TRAINING
FACILITATOR’S GUIDE
ON THE ROAD EXERCISES
Theme
Notes
Resources
Before leaving Car Park and going on the
After the car park session the Trainer will make a competency assessment of
each trainee to be set up with communication
Road...
the trainee. If they are successful and the trainee is comfortable to make the
system before heading out on road
next transition from car park to first road ride then they will continue with
training.
If the trainee has an unsuccessful competency assessment a conversation will
take place advising them that they will not be able to partake in the road ride.
The trainer will then contact the Team Leader to discuss further training.
Trainer to brief trainees on next steps once leaving the car park.
Key reminders:
●
Keep self safe
●
public safe
“
If I feel we need to regroup I’ll let you know but only pull over when
it’s safe to do so”
●
follow the road rules
●
talk about road position
●
if any concerns indicate and pull over to the side of road when it is
safe to do so
●
Comms - for any reason the radios aren't working - pull over in a safe
place and Trainer will organise regrouping
NOTE: Trainer to work out the order of which trainee goes first, second etc
May want the most confident trainee to go first and have the least confident
last
First road ride
15 - 30mins of dead riding
Map out route for dead riding which should include:
Trainers to decide who (of the trainees) leads the group
●
Low traffic area
Give trainees a break and ask some questions or talk through some situations
●
intersections/lights/roundabouts
they might have. Trainer to assess and discuss with trainee if they are ready
●
Quiet street for footpath skills
for next road ride (if not then return immediately to base- if trainee is not
competent then arrange for alternative transport)
11
Delivery Vehicle Training - One day PRACTICAL TRAINING
FACILITATOR’S GUIDE
Q:What forms do you need to fill out if you have a incident where vehicle
damage occurs
A: HS1 and a Vehicle Accident Report
Q: Name three ways of conserving your Paxster battery power
A: 1 Correct Tyre pressure
2 Smooth acceleration
3 Use of regenerative braking
Q: Do you need to do anything when you have a near miss
A: Yes fill out a HS1
When do you indicate when going straight through a roundabout
A: Before exiting roundabout
Footpath entry/exit exercise - quiet street
Trainer to ask trainee what is important when operating around the
footpath. Trainer to demonstrate when approaching footpath from the
road:
●
work on the delivery vehicle set-up onto the footpath
●
have a good look when approaching footpath
●
slalom between a couple of driveways and footpath
●
importance of keeping off grass verge
●
Importance of securing (thumb or hand brake) vehicle
●
Importance of right of way for other footpath users
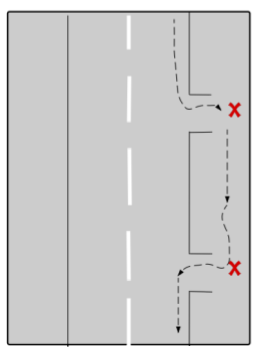
Trainer to demonstrate the correct way to enter and exit footpath from the
road ( talk about the consequences of getting the angles of entry and exit
wrong )
Trainee to repeat this exercise until able to demonstrate the correct technique
consistently with Trainer supervising.
Q: Name at least 3 hazards you could encounter on the footpath
A: 1 Children and other footpath users
2 cars reversing out of driveways
3 low hanging branches
4 Rubbish day
5 Power box’s
6 Broken letter box’s
7 Wet or slippery footpath
12
Delivery Vehicle Training - One day PRACTICAL TRAINING
FACILITATOR’S GUIDE
8 unrestrained dog’s
Q: Are you allowed to have ear phones whilst operating the Paxster?
A: No. All listening devices are not permitted whilst operating a Paxster unless
for the purposes of training. An independent safety assessment on the use of
Paxsters concluded that it is vital for Delivery Agents to be able to anticipate
and avoid potential collision situations, such as vehicles coming out of a
driveway. For this reason, Delivery Agents should not play music or other
non-work related broadcasts while operating the Paxster.
13
Delivery Vehicle Training - One day PRACTICAL TRAINING
FACILITATOR’S GUIDE
Letterbox simulated exercise
Trainer to demonstrate when approaching footpath from the road:
●
work on the delivery vehicle set-up onto the footpath
●
have a good look when approaching footpath
●
drive along the footpath (avoiding grass) on the left hand side and
touch every letter box
●
12 second scan (looking for all hazards - low hanging branches, power
poles etc.)
●
give way to all other foot path users ( pull over and come to a
complete stop if there is room for other foot path users to go past
safely or move on to the road out of the way and when safe to do so
move back onto footpath )
●
foot path position when riding ( are they in the best position to see or
be seen when coming to drive ways with high fences - hedges )
●
when leaving delivery points: MIRRORS - HEAD CHECK - MOVE ON
TRAINEES DEMONSTRATE CORRECT FOOTPATH USAGE
Trainer to explain the pro’s and con’s of parking the delivery vehicle and
getting out and walking to a cluster of letterboxes as another option
Key points:
-
Safest for self - public
-
Avoid grass
-
Most efficient
Trainee to repeat this exercise with Trainer supervising
Discuss judgements DAs need to make around footpath operation and
practice scenarios below:
Q: Who has right of way on the footpath and what are our options
A: all other footpath users - we must give way to every one. Move into a
driveway, move on to side of the road, or if there is room move to the side of
footpath and stop unless clear
Q: What is the correct procedure before leaving a delivery point
A: Mirror, Headcheck move on if safe to do so
Q: is it okay to sort mail while driving
A: NO - STOP - DELIVER - SORT - RIDE ON
Q: Is it okay to drive on the grass?
A: No. One of the conditions for Council footpath use is that we do not drive
14
Delivery Vehicle Training - One day PRACTICAL TRAINING
FACILITATOR’S GUIDE
on the grass. Next option is to deliver from road side (if safe
to do so). If this is not possible then deliver from the nearest and safest and
legal position without blocking, footpath or driveways
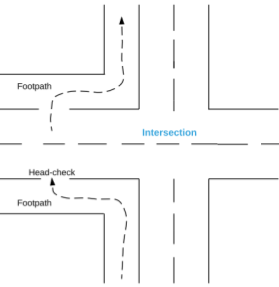
Footpath entry/exit exercise - busy street
Trainer to talk about different options when crossing at busy intersections (
eg. drive around the corner and exit footpath where it is safer to do so )
Note: Have a predetermined place where trainer can explain and demonstrate
safely the different options
15
Delivery Vehicle Training - One day PRACTICAL TRAINING
FACILITATOR’S GUIDE
15 - 30mins of dead riding
Tiki tour - long dead ride
Map out route for dead riding which should include:
Trainer to decide who (of the trainees) leads the group
●
different terrain
●
busy street
Before proceeding give the trainees a break and ask some questions or
●
quiet street
talk through some situations they might have. Trainer to assess and
●
intersections/lights/roundabouts
discuss with trainee if they are ready for next road ride (if not then
return immediately to base- if trainee is not competent then arrange for
alternative transport)
Tiki tour - dead riding on hills
15 - 30mins of dead riding
Map out route for dead riding which should include:
Trainer to decide who (of the trainees) leads the group
●
different terrain - going up or down a hill
●
busy street
●
Trainer to decide who leads the group ( when going downhill with
●
quiet street
sharp corners and bends trainer could lead first time and then follow
●
intersections/lights/roundabouts
trainees 2nd time )
●
talk about the importance of riding at the correct speed when
approaching twists and bends traveling down hill ( safe speed before
entering bends in the road - correct technique when cornering )
●
when traveling uphill be aware of traffic that you could be holding up
( mirror - indicate - head check - pull over and stop to let traffic pass if
able to do safely)
●
Demonstrate a hill start using full use of all brakes (including the hand
brake). Trainee will then complete hill starts until they are competent
Before proceeding give trainees a break and ask some questions or talk
through some situations they might have. Trainer to assess and discuss
with trainee if they are ready for next road ride (if not then return
immediately to base- if trainee is not competent then arrange for
alternative transport)
Tiki tour - through busy CBD streets
15 - 30mins of dead riding
Map out route for dead riding which should include:
●
Different terrain or going up or down a hill
Trainer to decide who (of the trainees) leads the group.
●
busy street
●
quiet street
Before proceeding give trainees a break and ask some questions or talk
●
intersections/lights/roundabouts
through some situations they might have. Trainer to assess and discuss
with trainee if they are ready for next road ride (if not then return
immediately to base- if trainee is not competent then arrange for
alternative transport)
16
Delivery Vehicle Training - One day PRACTICAL TRAINING
FACILITATOR’S GUIDE
Return to Branch
Trainees to demonstrate parking vehicles in correct way and charging
ready for next day
Go over with each trainee individually their training competency sign off
forms and give feedback. Discuss each competency in detail with Delivery
Agent writing in detail of all key points, rules and policy that relates to
each competency. Ask Trainee if they are unsure of anything or have any
questions.
Q: what are the last things to check before moving away from Paxster.
A: that the hand brake and charging light are on.
Q:who is responsible for paying any fines that occur when out delivering
on the Paxster
A: the Paxster Operator
Q: what is the procedure when a vehicle breakdown occurs
A: Get in contact with your leader who will organize to get someone out to
fix or replace your vehicle, make sure you have more than 1 number to
contact if they are unavailable or its after hours
17


